6.10.2015

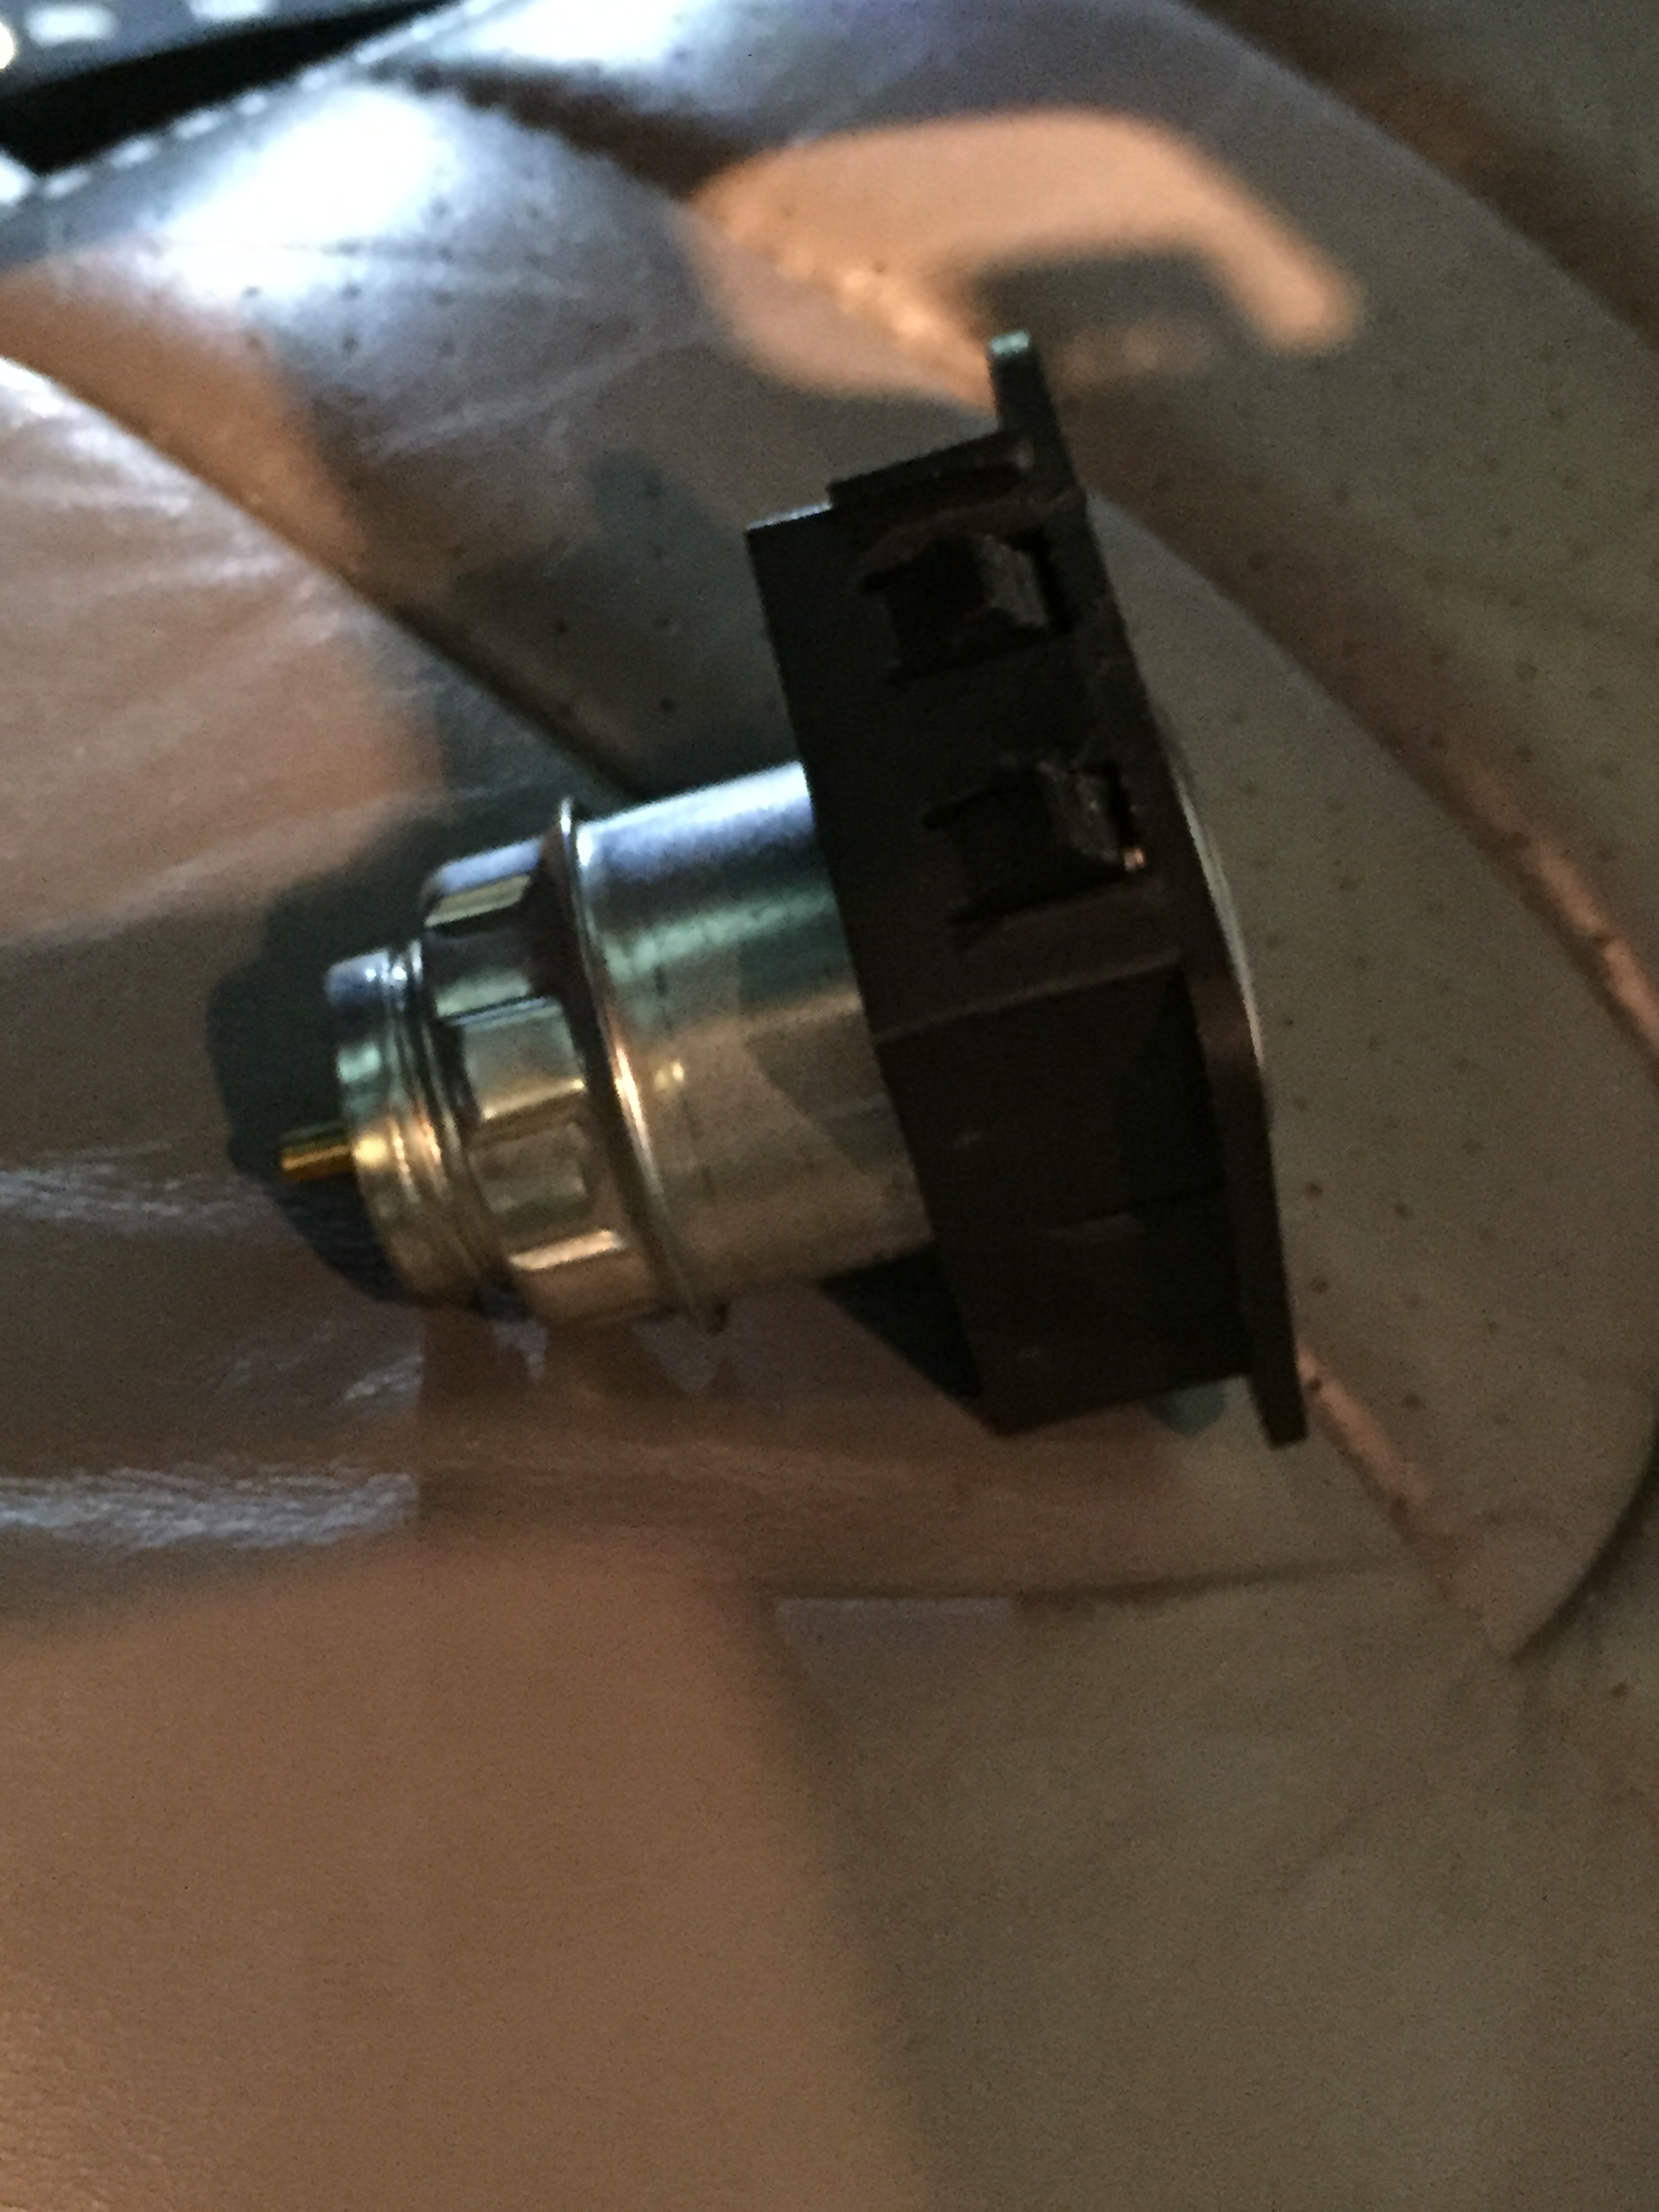
Last update, I was in the middle of wrapping up the work on the dashboard.  This end of the project has been interesting, mostly due to parts issues.  The list of things to do: 1Factory Radio Bluetooth Head Unit, LED Light Installs, Odometer Fix and new cigarette lighter/power outlet install.  The head unit install went flawlessly and a video demonstrating how it works will be coming once the dash is buttoned up again.  I had no issues putting the new 12v outlet/cigarette lighter in as well, just a little bit of messing/fiddling with the plastic housing. 

The odometer fix went great, but a stupid mistake by me, required the gauges to be fixed.  At least that is now behind me and they are back where they belong with a super bright odometer readout.  I used the kit from NAISSO, which required soldering. 

The LED Lighting: I wanted LEDs for various areas, nothing too crazy.  The door courtesy lights, footwell, shifter indicator, headlight switch (the Honda bulb worked, just felt an LED would last a lot longer), and I also put one in the trunk.  Super Bright LEDs has a nice website and good customer service, but their shifter indicator bulb was wrong on the site and to top all this off, the post office lost the most recent box coming to finish this.  So right now I'm stuck, waiting on 3 small LEDs...  Once all this is wrapped up, the Impala is going to the body shop for spoiler painting and fitment.  A full story is coming on that as well.  Following the spoiler upgrade, the major engine transplant will begin... Figuring out my header problems now, and the SLPs are gone forever, kind of sad considering we've had them since 2002.  So stay tuned for more to come, as I should have some more free time on my hands soon.  Projects around the house, spending time with the family, the Cavs in the finals and work have limited my time in the garage.  Soon enough though, I will have more to report and share.  Just a quick followup, below; I have placed a picture of the factory wiring that runs to the radio harness.  This was needed to guide me through the antenna switch setup, as I found two green wires and was unsure which one to splice into.  I just snapped a pic of the factory service manual, enjoy! Thanks for reading!

6.1.2015

Decided to kick the project into gear this weekend, plugging along getting more and more ticked off the list.  Friday started with the electric water pump modifications.

For this, you are required to press out the "guts" of an OEM water pump, press a brass plug into the back hole, then bolt on the new electric assembly.  Right now it is sitting at a friends machine shop, where it was pressed out.  He is going to clean it up a little bit then I'll hit it with some paint or clear coat, depending on how it turns out.  If you notice the first image, he had to fab up a little tool to fit in their press so everything could be pressed out.  More on this soon...

Next up, the radio install.  Very simple and self explanatory, but what I did do was modify the antenna wire.  The factory radio always pops up the power antenna, even when listening to a CD and now Bluetooth.  I ran a switch over to the small hole near the headlights so now I can control when the antenna goes up.  Full radio review coming soon, once the dash is all buttoned up. 

Gauges - This is one of the worst things to happen on this project and I'm embarrassingly posting this...  Ok so the Odometer fix worked perfectly, no issues and I even surprised myself with my soldering skills.  You can see below the old resistors that were browned and what they looked like after removal.  When I tested it out, I decided to pop it into the dash real quick, making sure my solders worked right.  I did not put the screws and plastic cover on the back of the cluster, just for the quick test.  Horrible mistake.  When I pulled the gauges out, the circuit board and gauge face/housing separated.  Not a huge issue, but 4 super small wires came loose inside and I have no idea what they go to...  More on this soon, but this literally has bummed me out all weekend, just a silly mistake that happened in about 10 seconds.  I'll post some pics of this next time, just was so sick over it I didn't even think to snap some.

Engine Build - I went ahead and started on the rockers this weekend too.  Cleaned them as Comp Cams said with denatured alcohol, then soaked them in the Joe Gibbs racing break-in oil.  Once the push rods were installed with some assembly lube, the rocker studs were installed with thread sealant and guide plates.  From there, you check to see if your rockers are lined up with the valve springs, which I didn't have any major issues.  The rockers are then lowered onto the studs, along with the Comp Cams rocker nuts that have polylocks backed out.  Next move is to adjust all of these, following the Comp Cams & Trick Flow instructions.  One thing to note on this, the Joe Gibbs Racing break in oil is insanely sticky stuff.  Felt like cooking oil on my hands or something similar.  Lava and regular soap was not taking it off, I've never experienced oil like this.  A full review is coming soon on this, but the Jack Manufacturing Magic Hand Cleaner took it right off.  This hand cleaner is legit and something you should try out.  Links to purchase almost everything I've discussed are below.  Check back for more updates soon!

5.28.2015

Having the '15 Chevrolet Colorado put me a little behind schedule here the past week, which is totally ok.  The latest on the Impala has moved to the interior.  Right now the dash is totally torn apart, looking to have multiple things fixed and upgrades.

-Lighting: I am adding LED bulbs to a few key areas, not everywhere.  Included in this mini project is the floor lamps, door safety/pocket lights, floor shift indicator, trunk, and the famous headlight switch bulb.  This particular bulb always goes out, and I went to the Honda dealership for a new bulb.  This was surprising, but it did work.  After reading online though, I ordered an LED for this spot as well, hoping it won't burn out as quickly.

-Odometer: In the middle of the Odometer fix right now.  Need to solder in the new resistor to cure the fading odometer. 

-Radio: The 1Factory Radio with Bluetooth has been installed.  I also did an antenna cutoff switch, hidden in the hole near the headlight switch.  I'm going to have a full story on the clever radio, so stay tuned for that. 

Finally, my headers issues are still here.  I'm thinking a set of Tri-Y's are going to be the best option.  I have listed the SLPs for sale on eBay, if you are in the market.  They are super rare and have never been used.  Just test fit, which led to disappointment.  Hopefully they are usefl for you.... More to come soon, thanks for reading!

5.19.2015

Just a quick update on the project.  I took some time on Sunday to film a bit with the Impala.  The plan is to release a little video discussing the project, my thoughts, and also some visuals of the vehicle in question here.  That should be live soon...

LT1 Progress:  I am having some issues that sort of put me on hold.  Installing the SLP Headers, which are brand new, coated and look amazing, I have an issue.  The passenger side EGR hookup will not clear the tall valve covers.  My options are to either have these cut off and modified, or possible switch to a different header.  The SLPs were bought so long ago and we are now finding that they might not be the best option... More on that to follow.  Rockers and all that other cylinder head stuff will be done soon too.

Others: The 1Factory Radio with Bluetooth arrived!  That should be installed this week along with the classic Impala odometer fix.  Next week, the Impala is going into the body shop to get the new rear spoiler fitted and painted.  We are super excited for this.  Finally, I received my box of new wiring for the electric water pump and also the upgraded battery cables.  All of this came from Gary at Innovative Wiring - judging by the quality, it is going to be such a nice upgrade for the Impala. 

5.10.2015

This weekend was hectic, but I found a little time to install the other cylinder head.  Normally this would have been a quick and simple job, but I wanted to film the process this time around which takes a little more time.  So as you can see in the video below, the passenger side head was already installed.  The process of doing this is kind of interesting and not as difficult as I thought it would be.  Coming up next is the rocker installation and that will be a little more technical. 

I also put the cap on the MSD Opti, installed the spark plugs and dropped the lubed push rods into the heads after the installation was done.  A few items I have been using are listed below, if you'd like a direct link to find them easily.  I'm searching for a cap right now to fit the SLP Headers, since I won't be using the EGR system.  Hope you enjoy the head install, comment or like the video if you get a chance.  Next update coming soon....


5.4.2015

So here is the latest from the Impala Project.  I was under the assumption I needed to located TDC for piston 1, which is fine, not too big of a deal.  The problem was I had nothing to turn the crank with.  Right now I'm trying to prolong driving the Impala for as long as possible.  Just another few weeks then I'll be tearing that down for the engine install.  So the hub, bolt, crank pulley, etc are all still on the drivable car.

Anyways, TDC.  I ended up getting a strap wrench on the front of the crank to rotate it a little bit.  This turned the engine enough to put piston number 1 right where it needed to be.  After all this effort though, I find out that the LT1 doesn't need to be at TDC and the Optispark basically takes care of everything.  So....lesson learned.  Now that I am done with that, I moved to the cylinder head install.

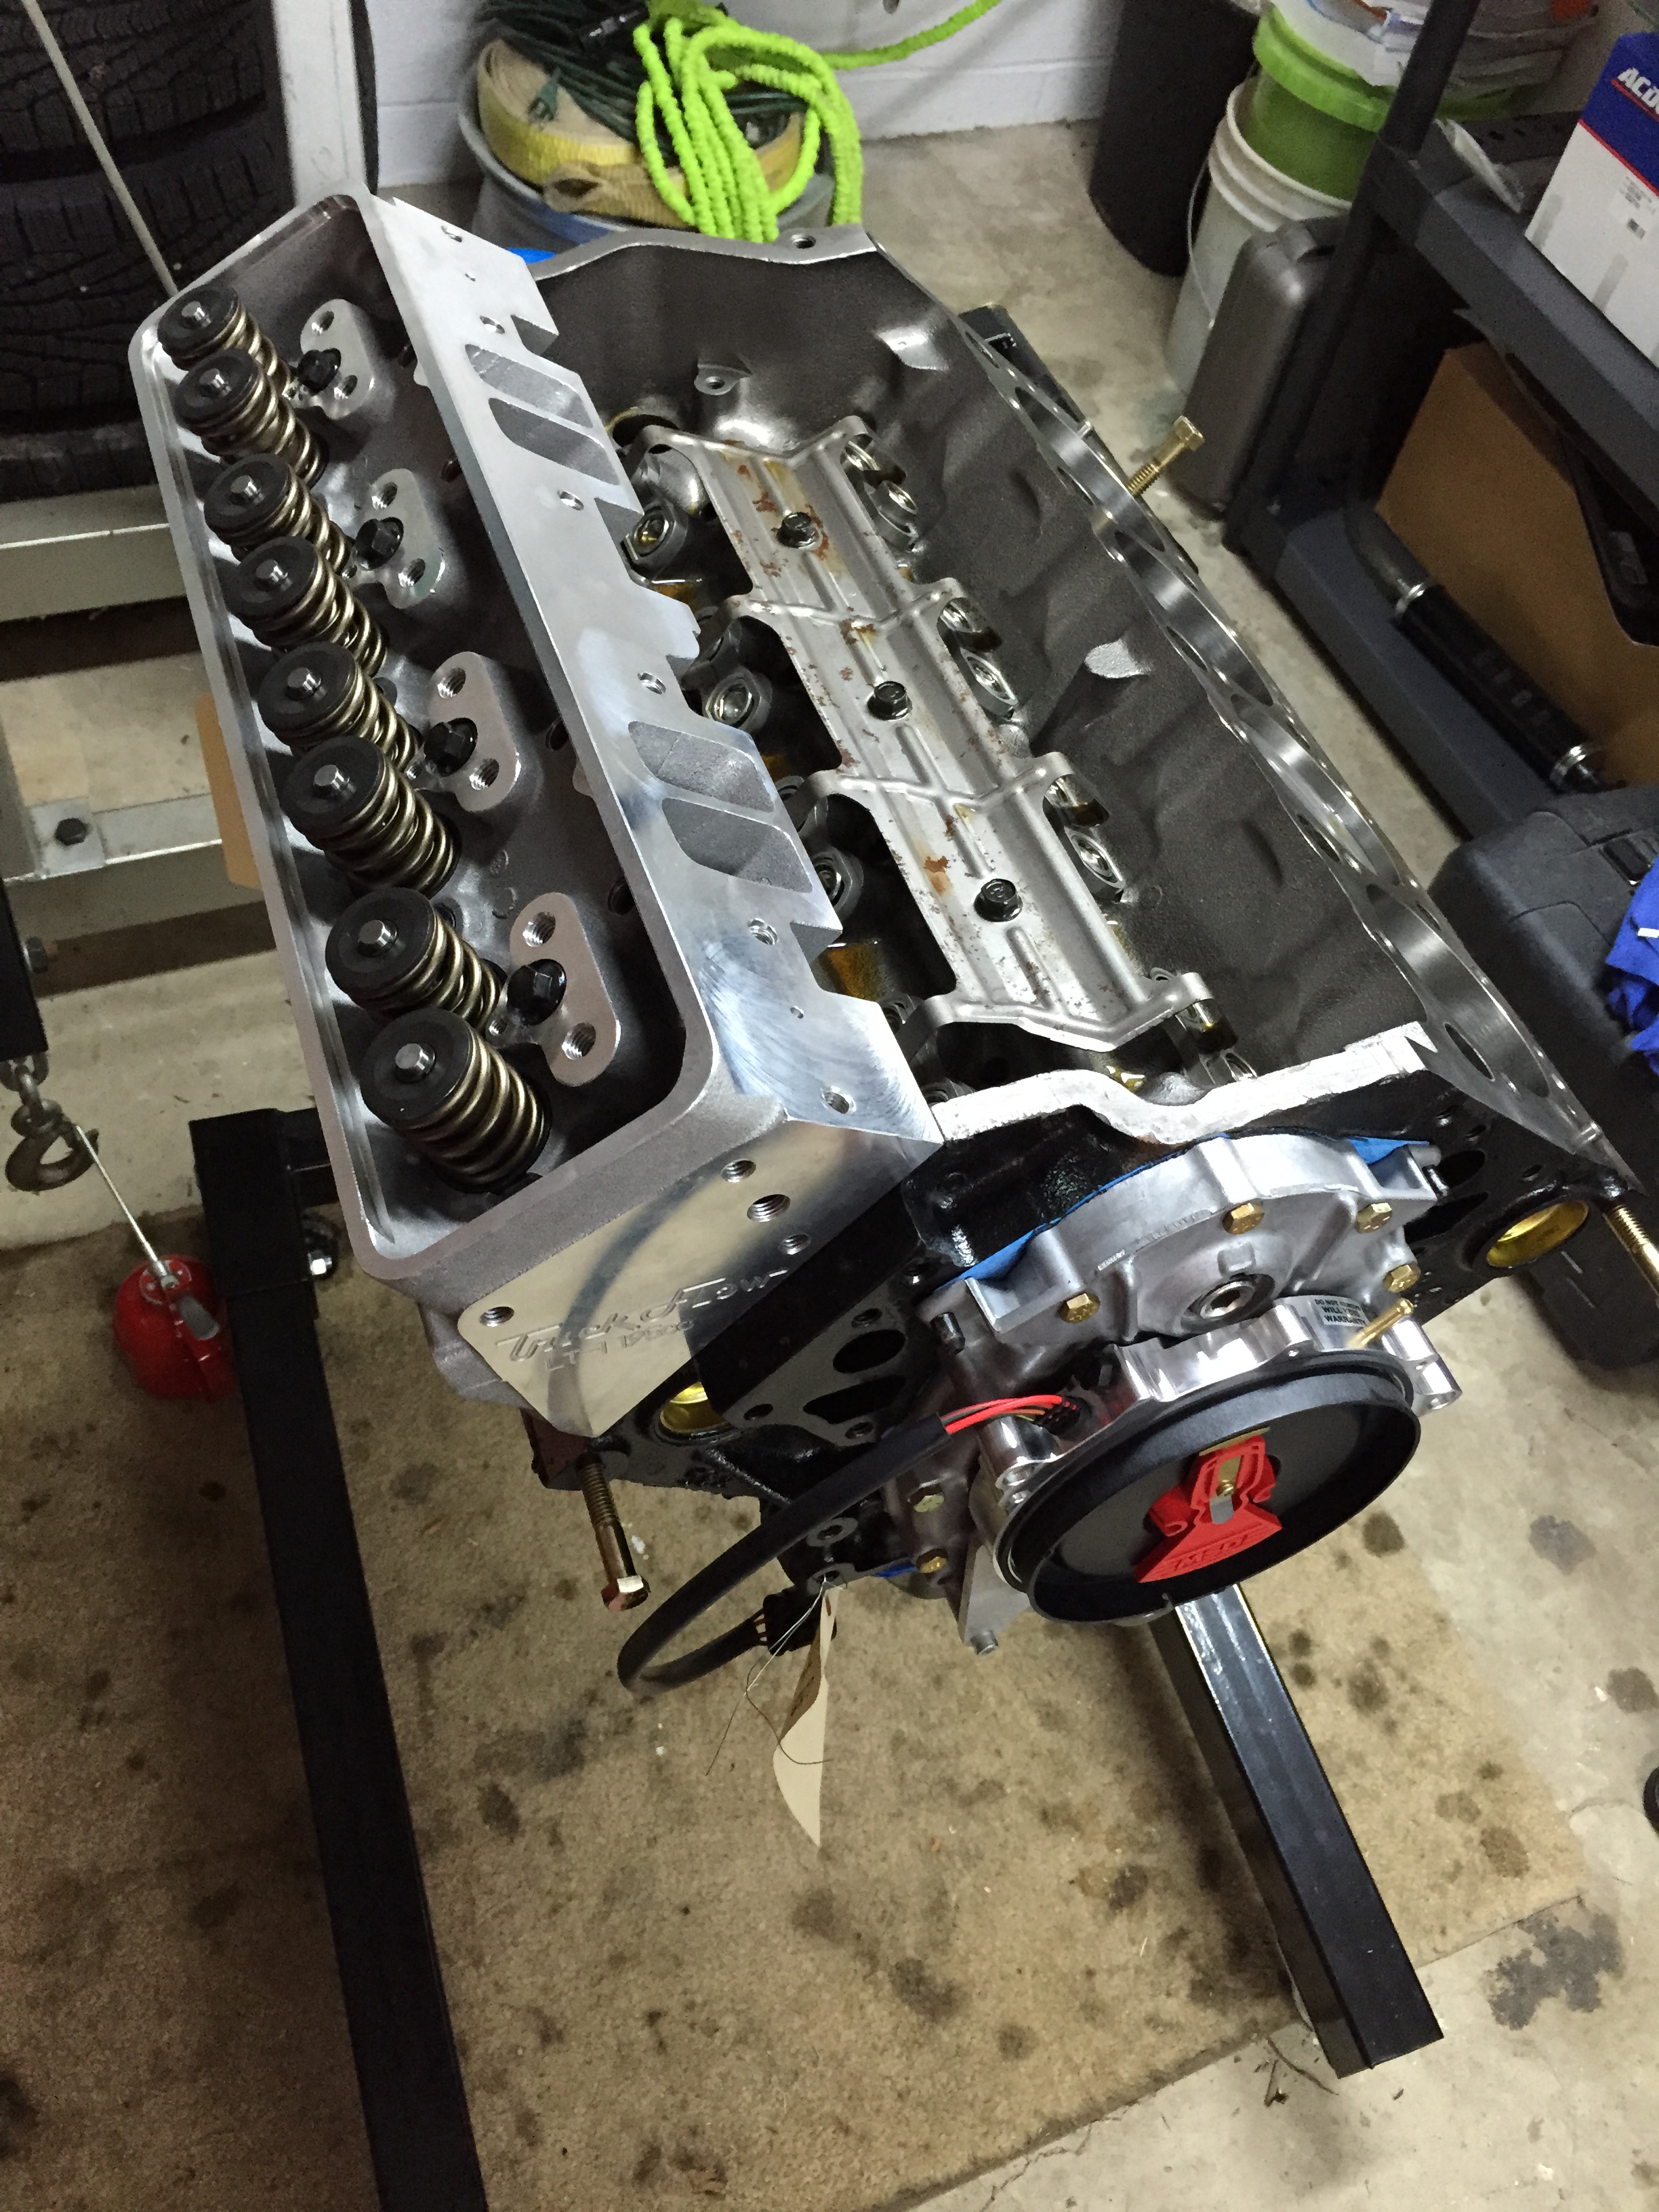
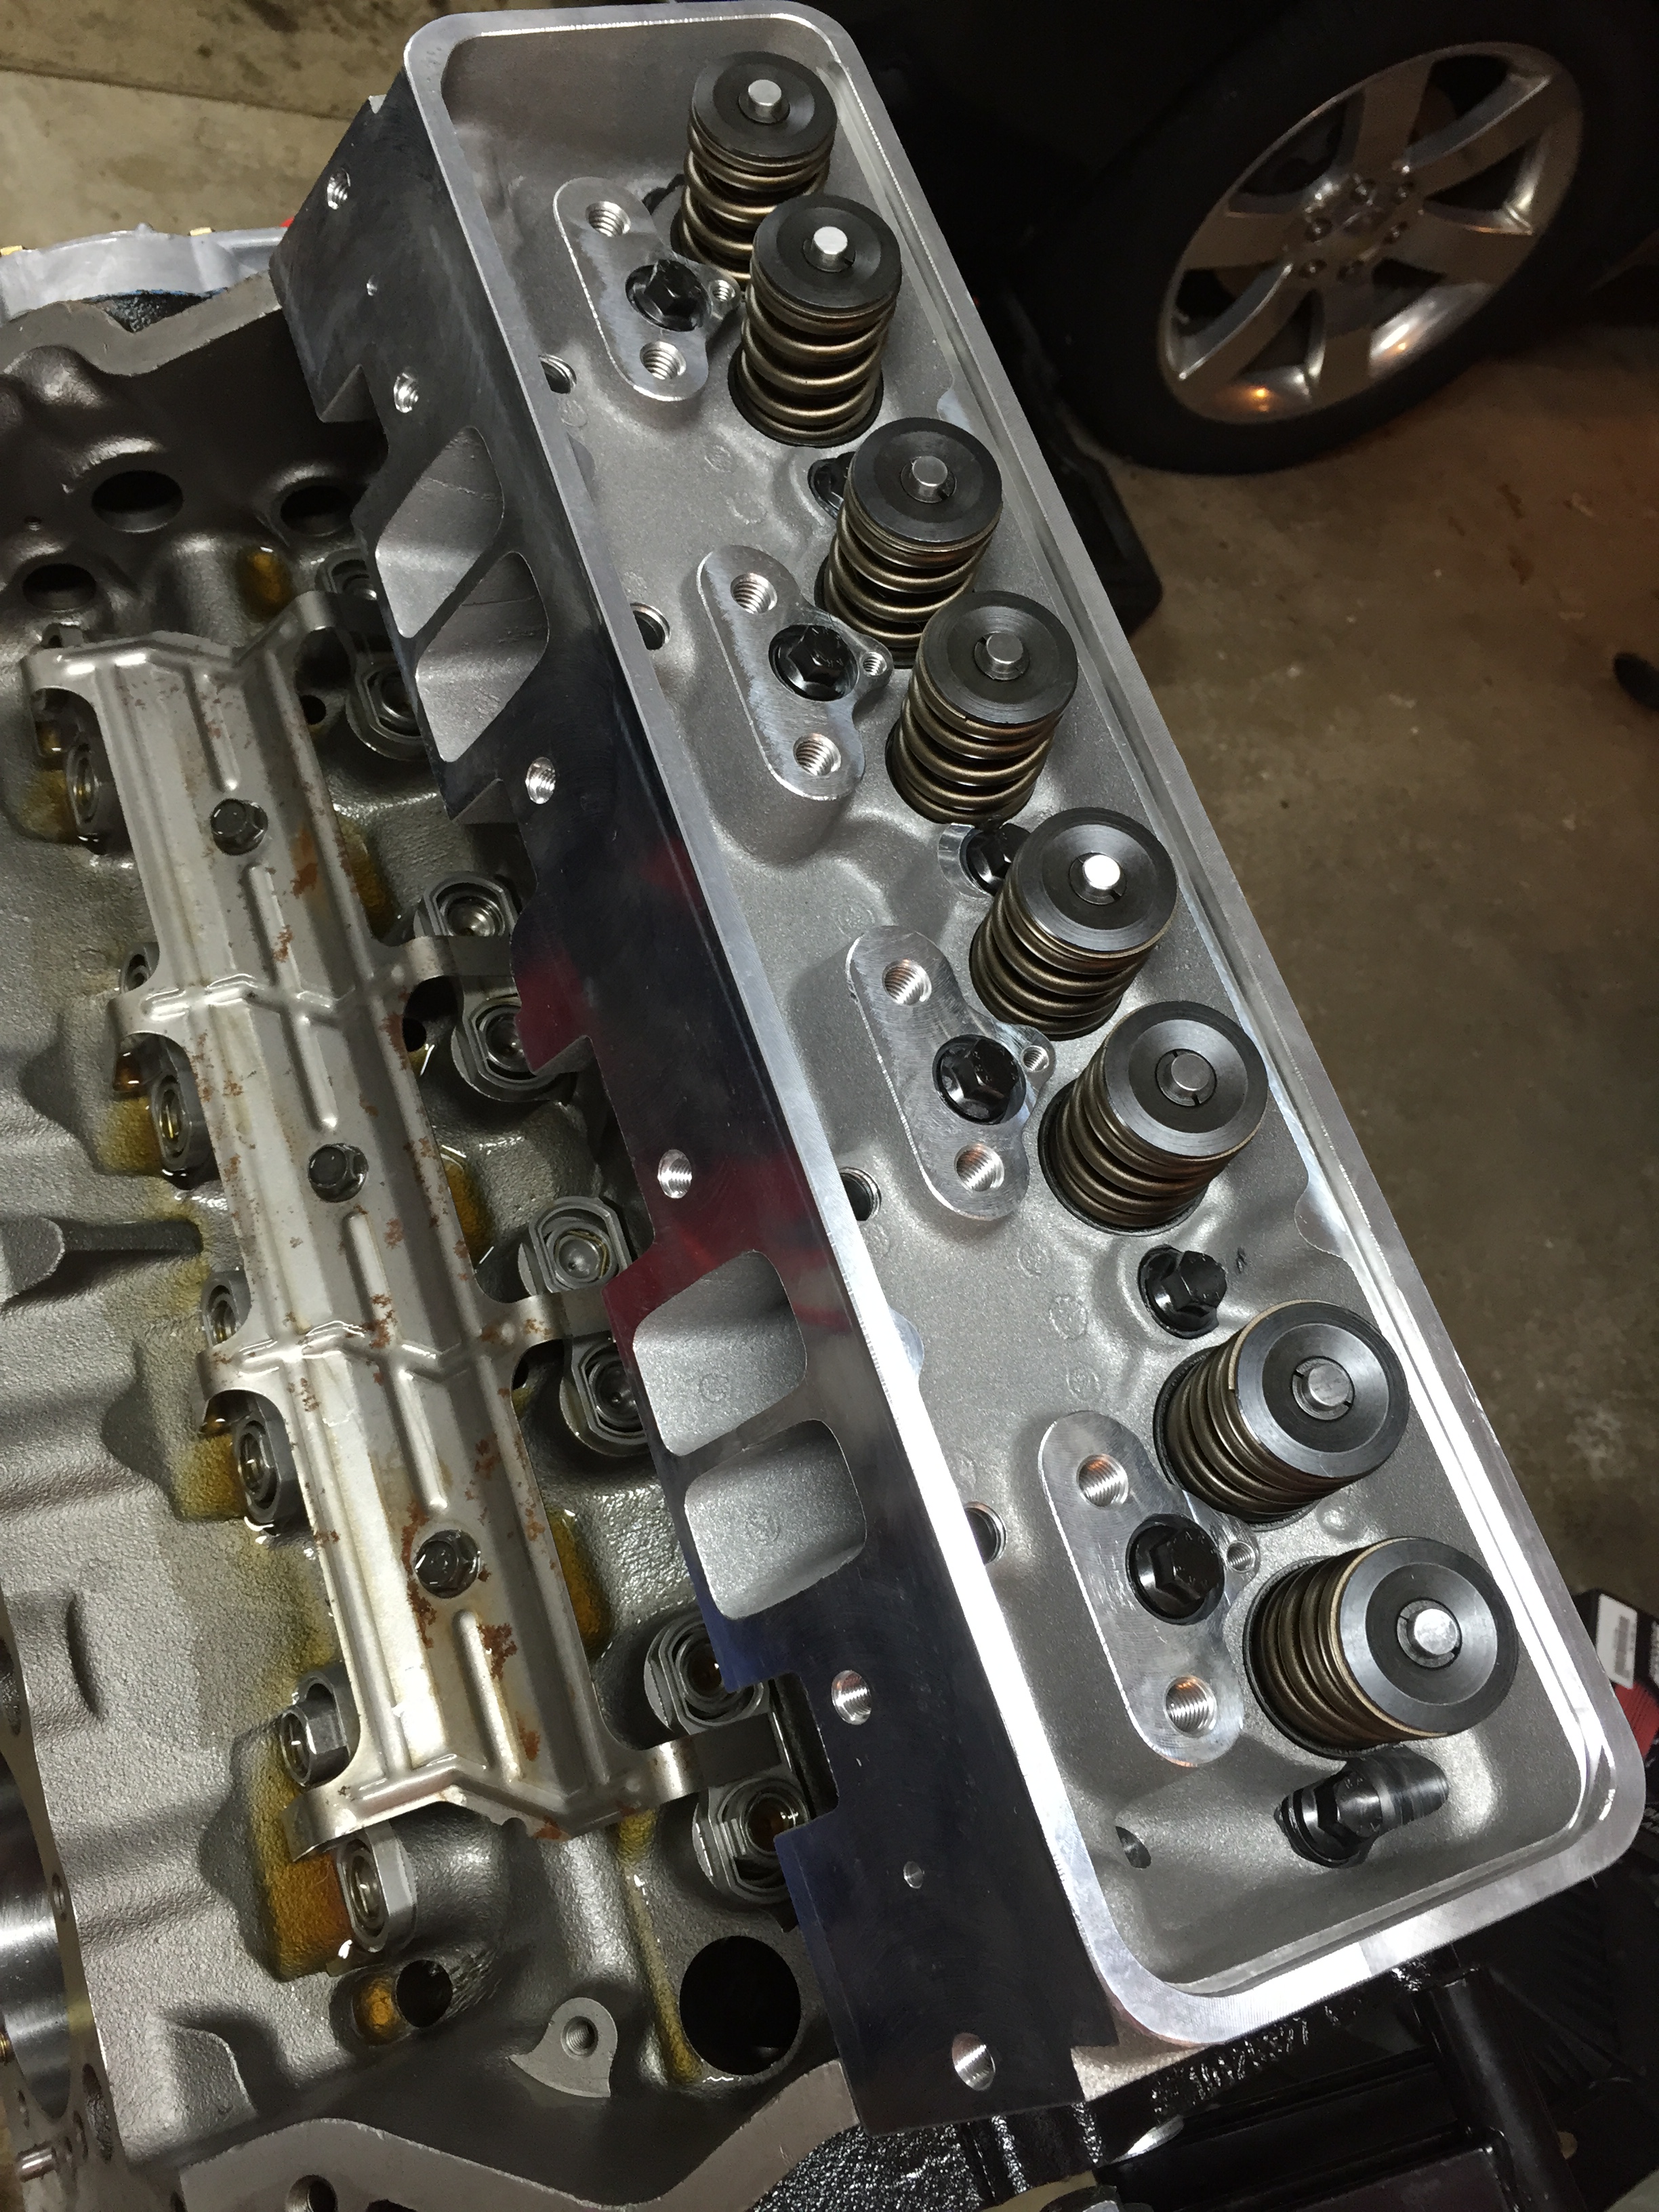
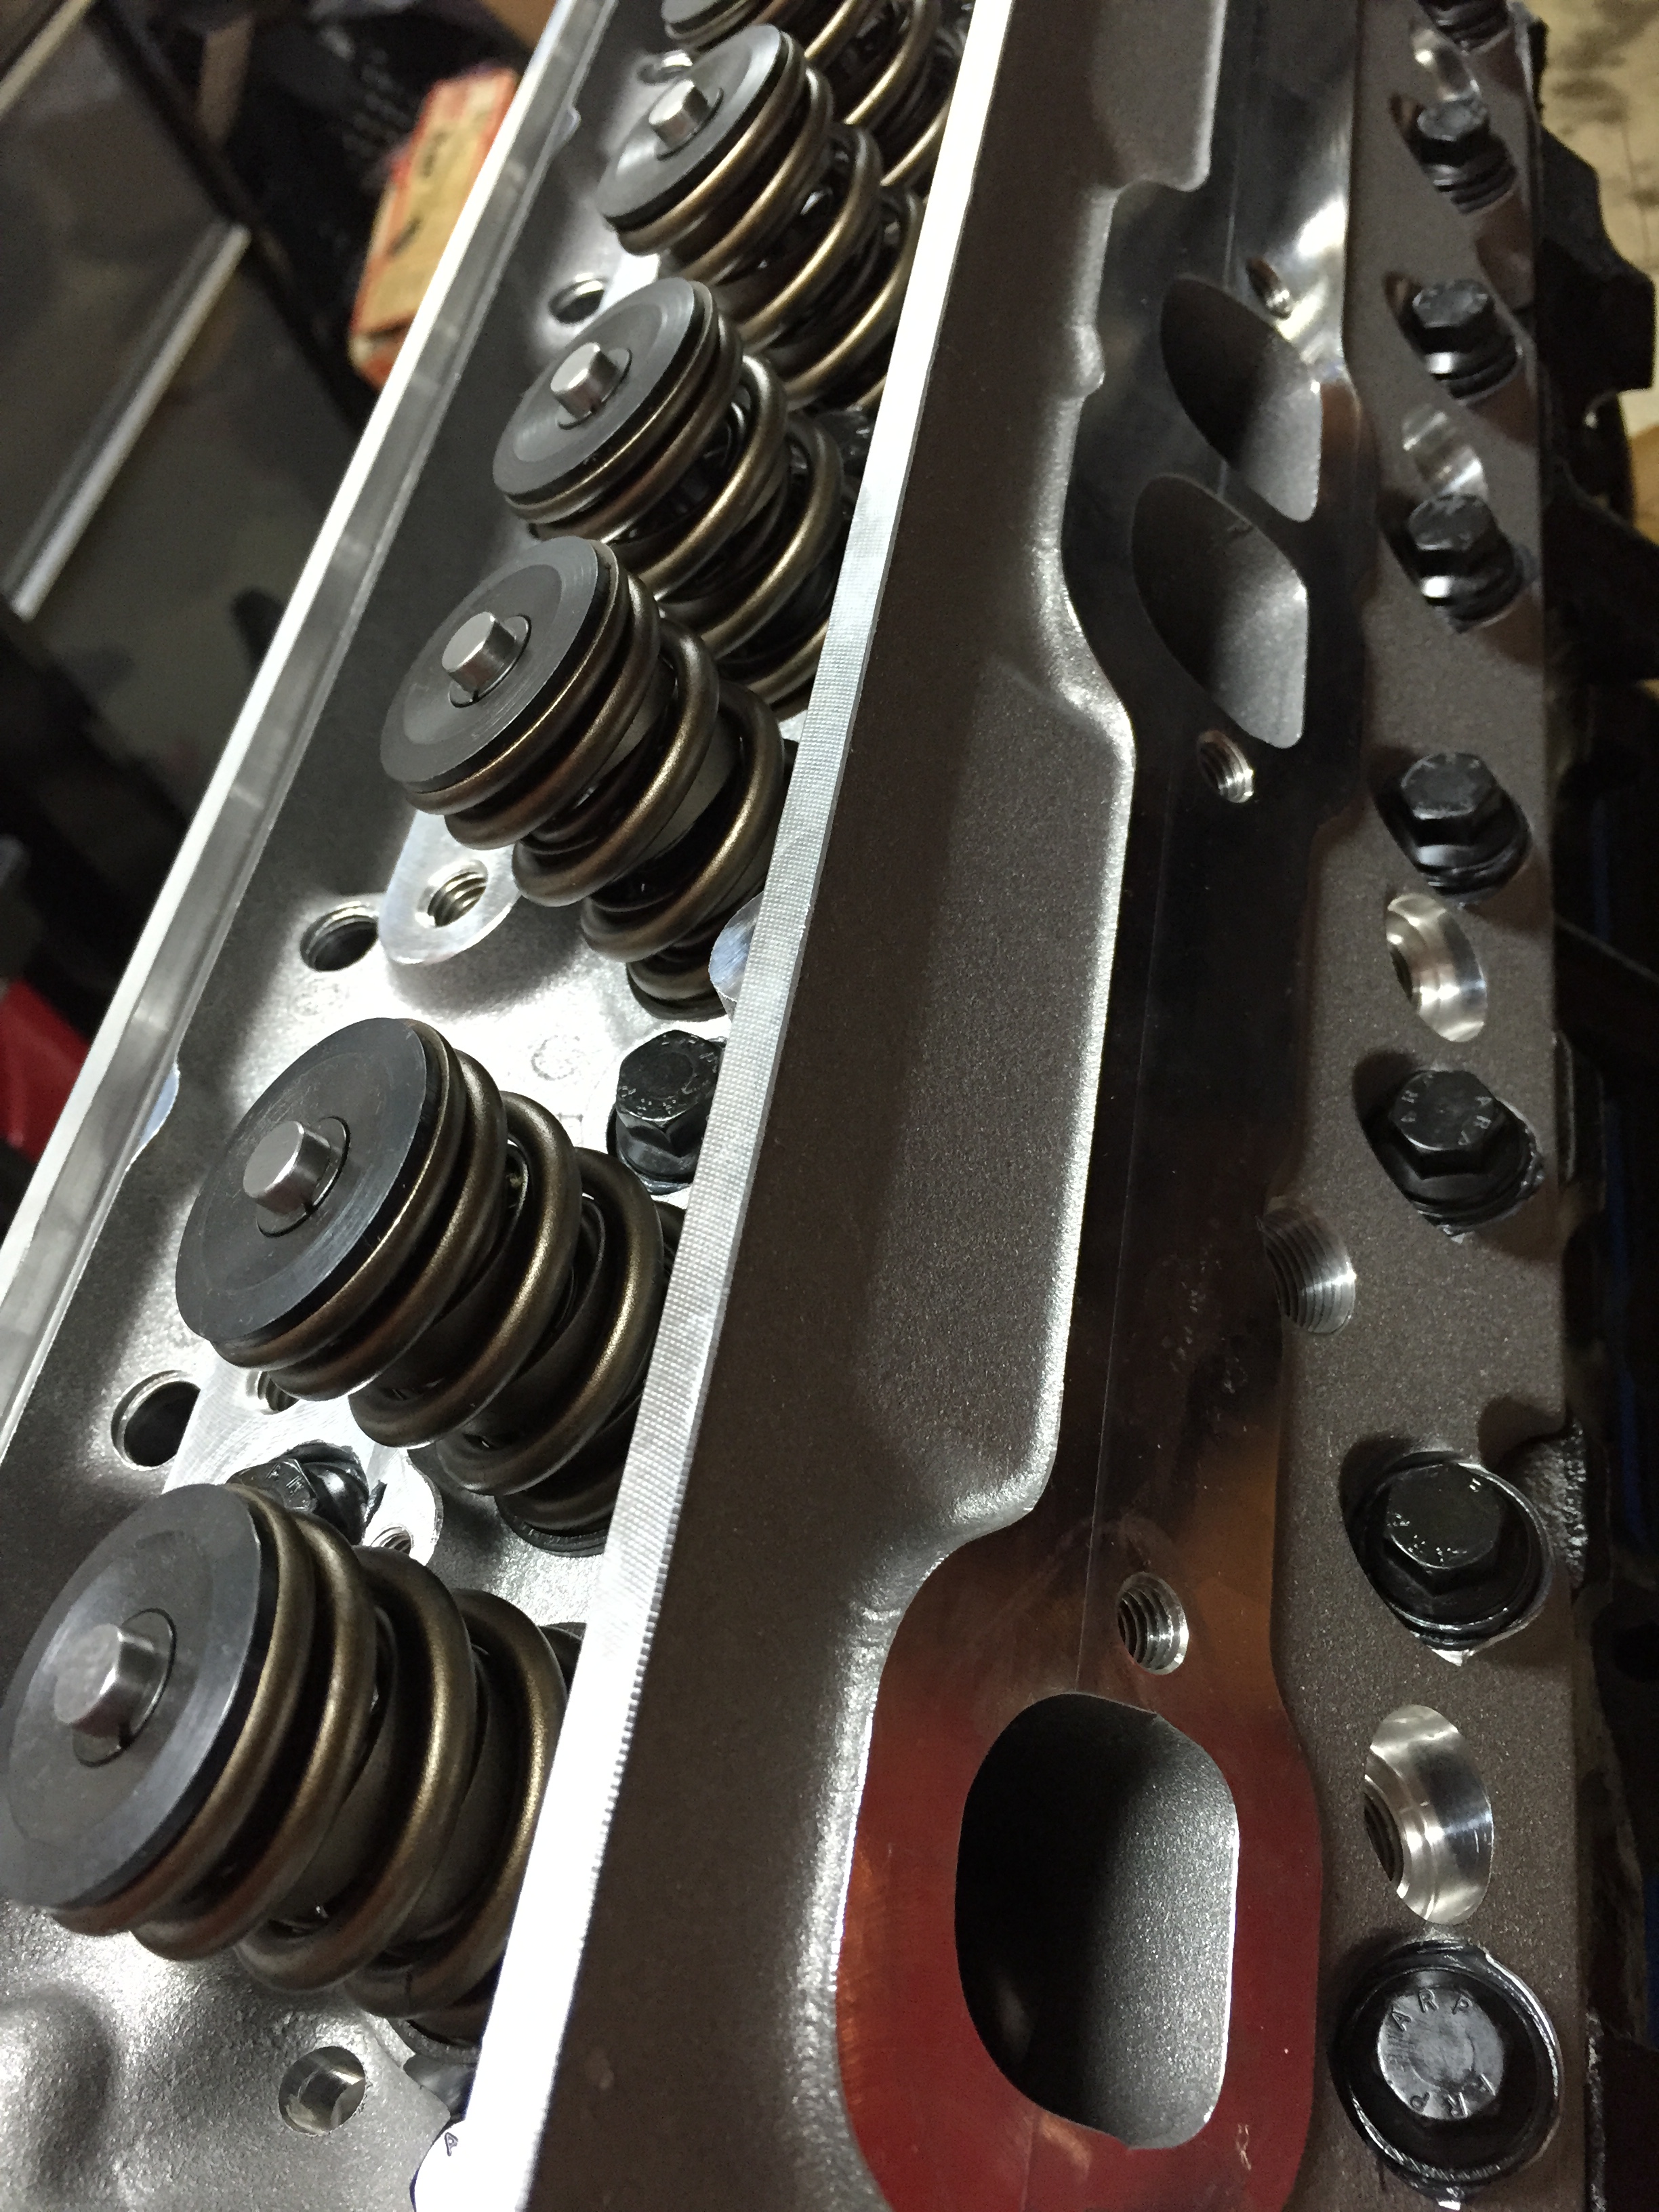
The head of choice here is the Trick Flow GenX 195 62cc aluminum units.  Everyone online says to port, polish and do more with them because off the shelf heads won't generate any power.  This isn't a track car and I'm just looking to make solid numbers, so the heads are going on as is.  One thing I did before was chase all the threads with a thread chaser from Summit.  I learned this is different than a tap, as it wasn't cutting, just cleaning or chasing the threads.  I ended up using some ARP head bolts, ARP Moly/Assembly Lube and Loc-Tite Thread Sealer as well.  Right now, the passenger side head is installed and looking nice.  I followed the advice of Trick Flow and also my LT1 rebuilding guide.  For the other cylinder head, I'm going to film that for everyone, just in case you were curious on how these install.  Filming should take place in a day or two, just been super busy with everything else in life.  I will say though that the first head went on nicely with a Fel-Pro gasket in between.  Just following the guides and taking my time it took me about 45 minutes.  Here are a few photos below and the next post should be of the other cylinder head install.  I also replaced the awful carpet underneath that has seen more than enough oil drips from various projects.  Thanks for reading and the next update will be soon.

4.26.2015

As time allows, I've been adding pieces parts to the engine and researching what parts I am missing.  With the Impala still running and not being torn apart yet, some items that are needed remain on the vehicle.  Right now though, I started with the MSD OptiSpark.  I'm told this isn't worth the coin, but we have it so I'm going to be using it.  The OptiSpark in general is well known as being unreliable and troublesome.  MSD came out with a solid billet piece that aims to improve on the factory issues.  On our Impala though, we literally had no issues with the factory Opti, and then on a replacement which ran another 80k miles.  So one would look at this move to the MSD unit as a bit of a gamble.... Time will tell.

The funny thing with the LT1 is, there is a following, but parts seem to be difficult to find.  Now I won't say impossible or out of production, I've been able to find what has been needed so far, but you can tell some things won't be lasting forever.  Totally different experience when you look for LS1 parts.  I needed/wanted a factory OptiSpark vent tube assembly, just in case the original has some wear or age to it.  This was an eBay purchase, new OEM, which arrived and looks great.  I also needed the Oil Pump Drive.  This is basically a cam driven metal piece that bolts to the block and connects with the oil pump driveshaft.  Finding one of these new and unused was difficult as well, but eBay was my source again.  I believe this is still available at the dealership once I started looking up the part number.  This is a part I did not want to reuse from the factory engine due to wear and also the well known broken plastic mount.  Finally one little piece I needed asap was the oil pan level sensor.  A quick look on Amazon found a new Delco piece that fit perfectly and wasn't too expensive.  Now the oil pan is totally sealed up.  After this, I added a little oil so when I'm turning the crankshaft and messing with the engine it won't be "dry" inside.  Golen calls for Joe Gibbs Racing Break in Oil 15w50.  Three quarts for now, which was dumped onto the lifters and down into the pan.

So the next step is getting the number one cylinder to top dead center and working through the Trick Flow Cylinder Head install.  This should be interesting and I think I'm going to film this, as it is quite the process.  I also got a new extended spoiler for the back of the Impala from Super Sport Studios.  Planning on doing a full story on this with before/after pictures and also my opinions on the looks, which I already am a huge fan of...  This one might get the Impala to the body shop for installation though, more on that soon.

Latest News

Since the weather has been somewhat consistent here in Ohio, we moved a little bit on this project.  The Impala is still in storage for the moment, but will be out and driven around for a couple weeks before the major work begins.  I need to install new front brakes and new front tires during this time as well. 

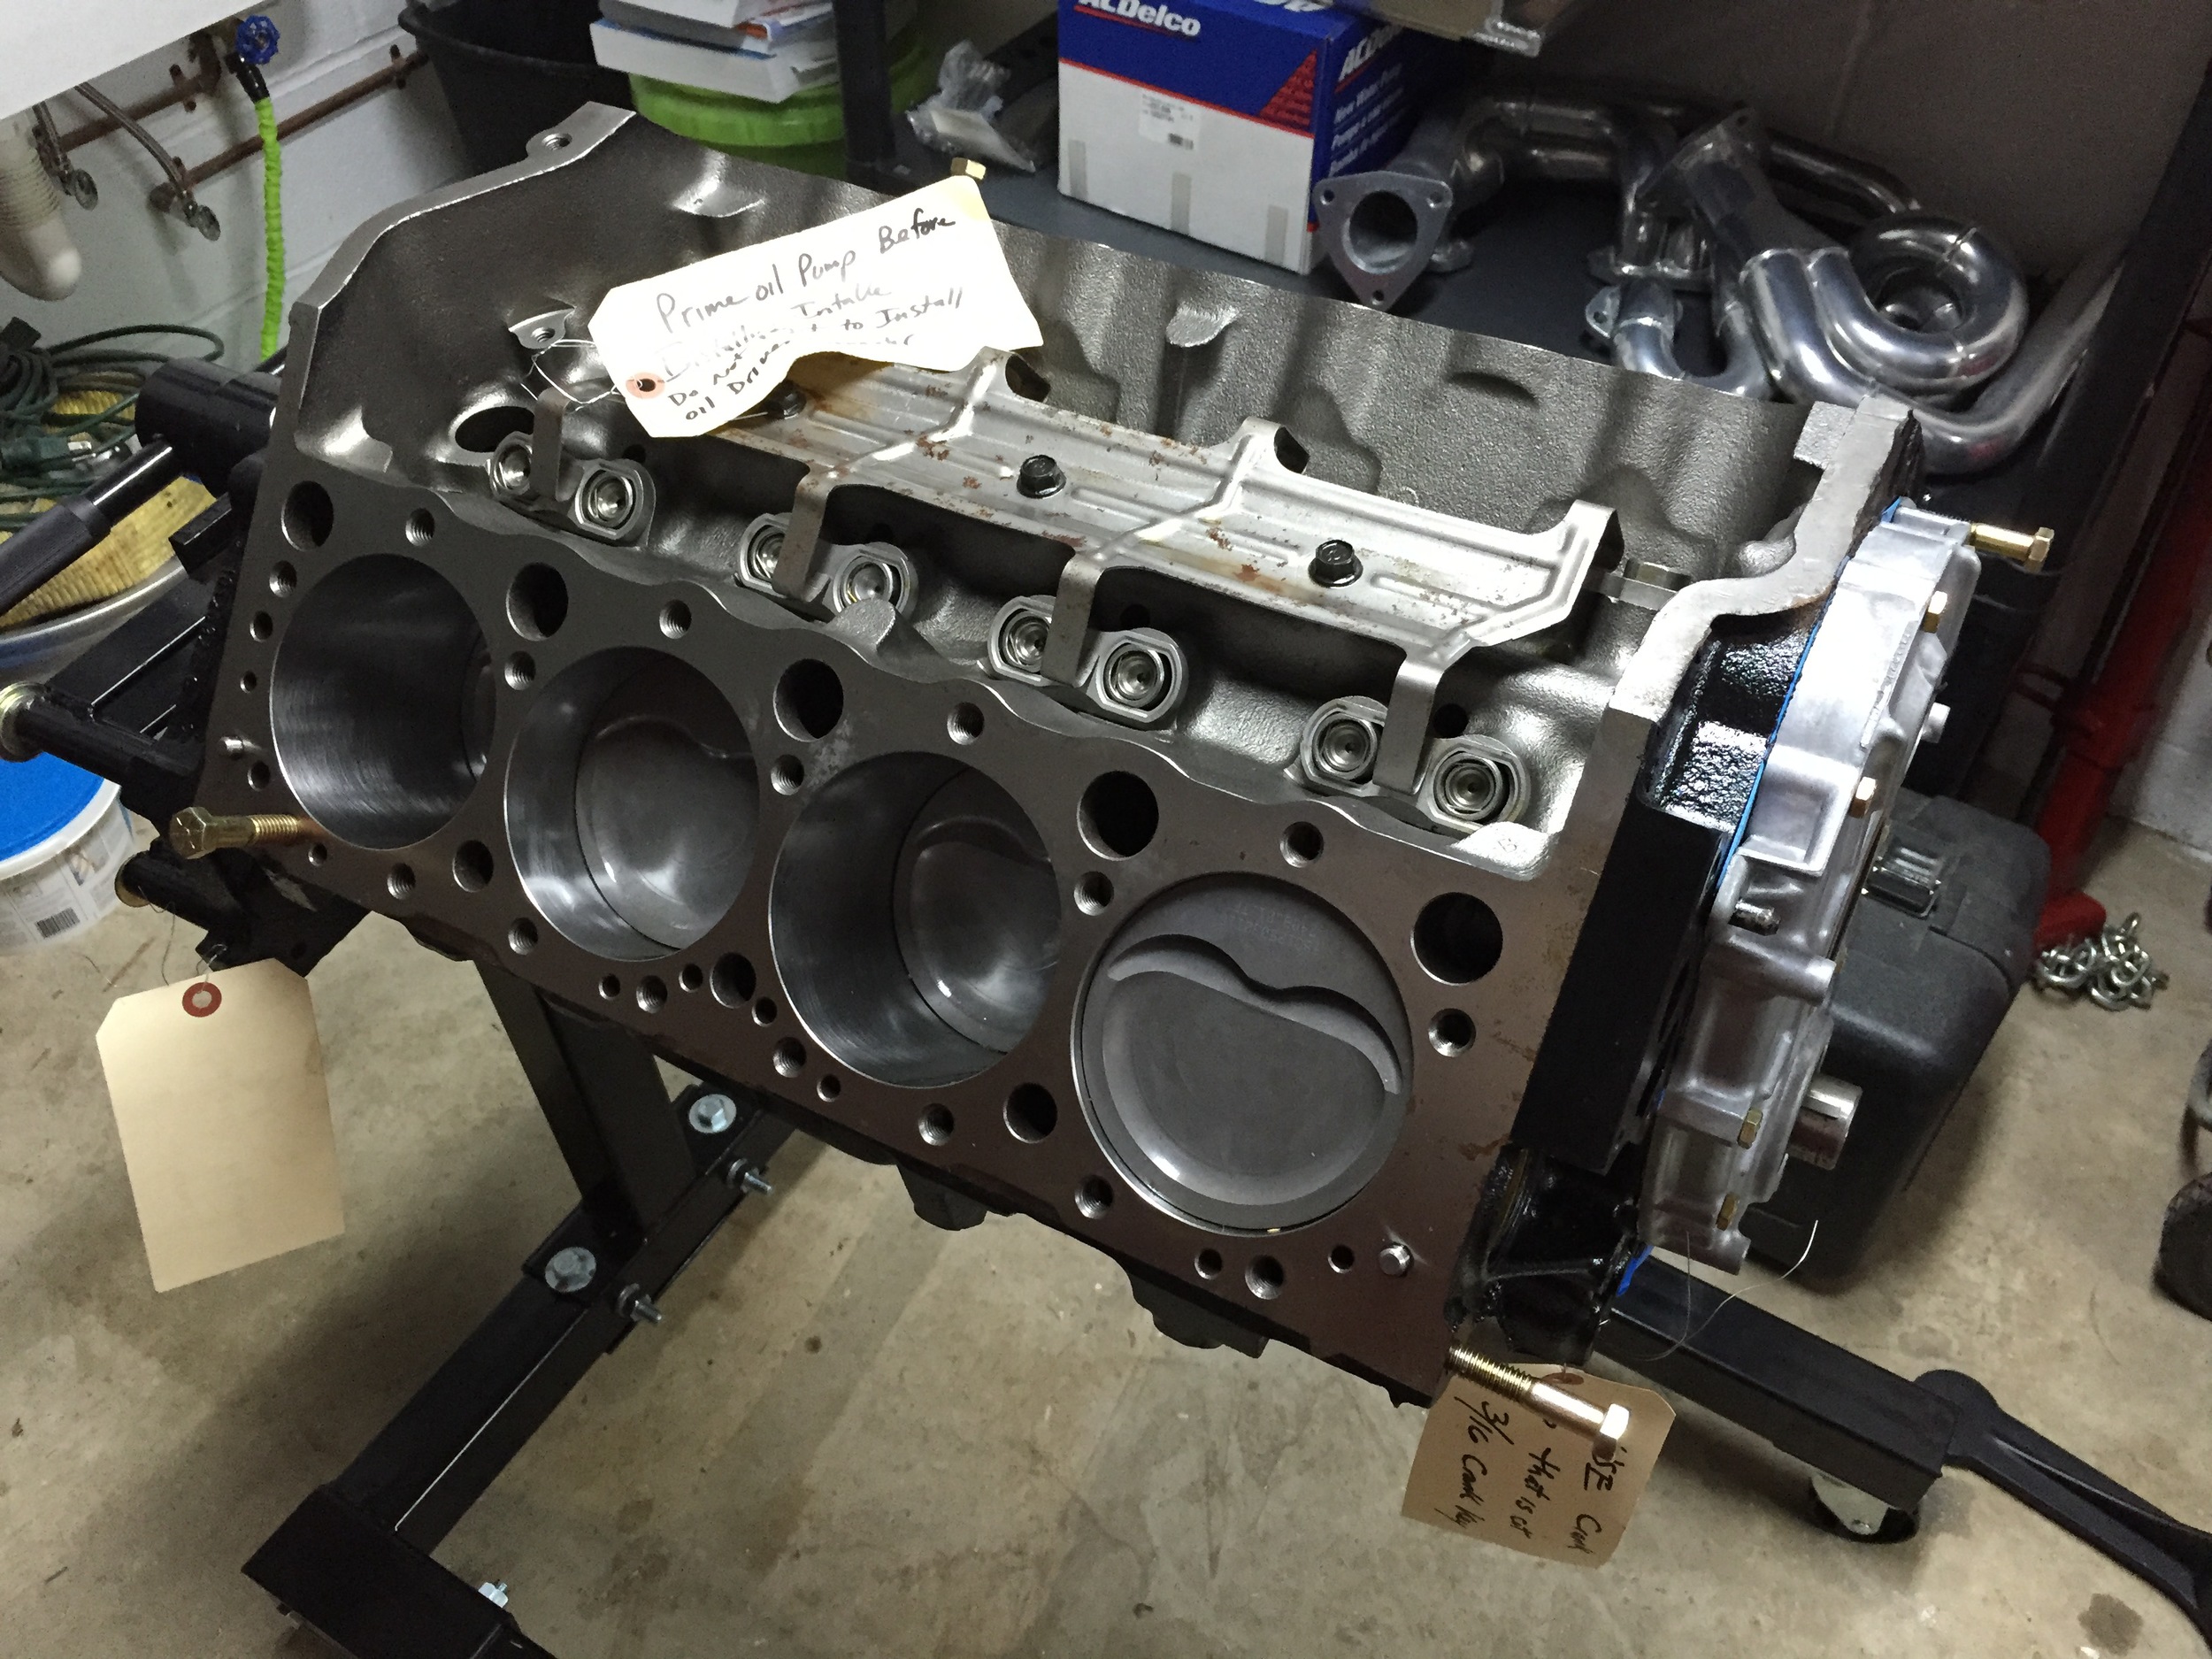
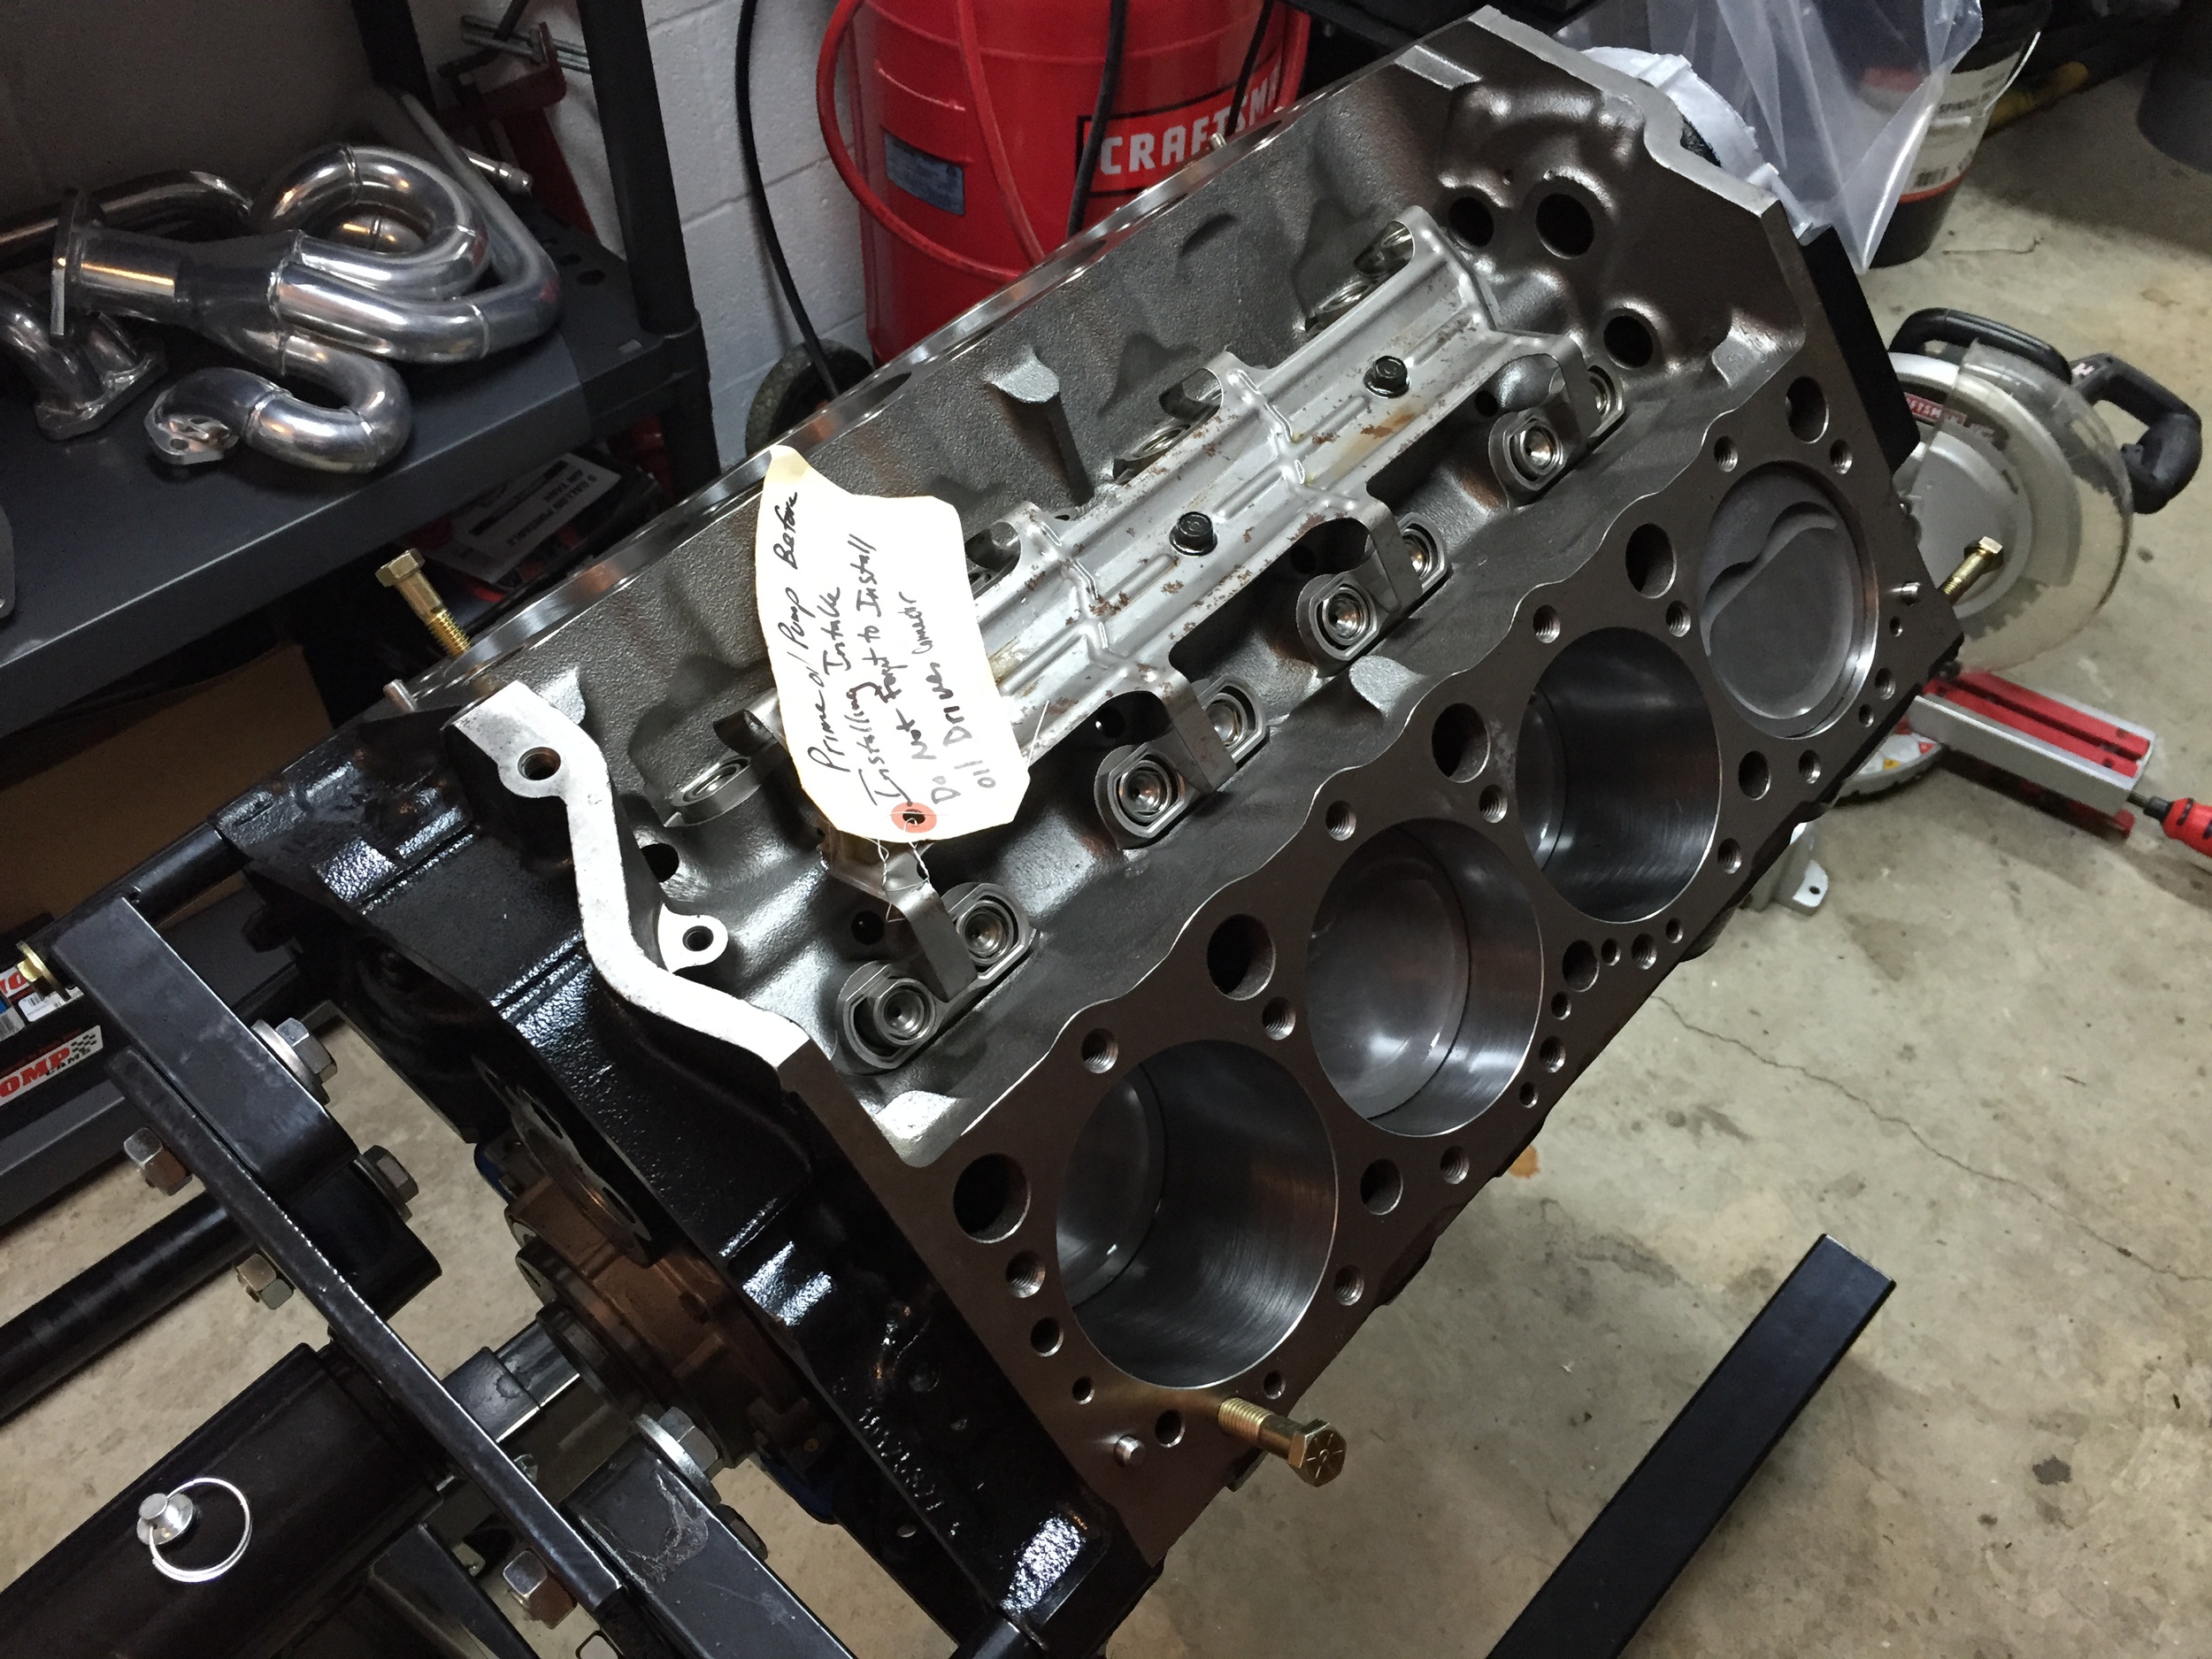
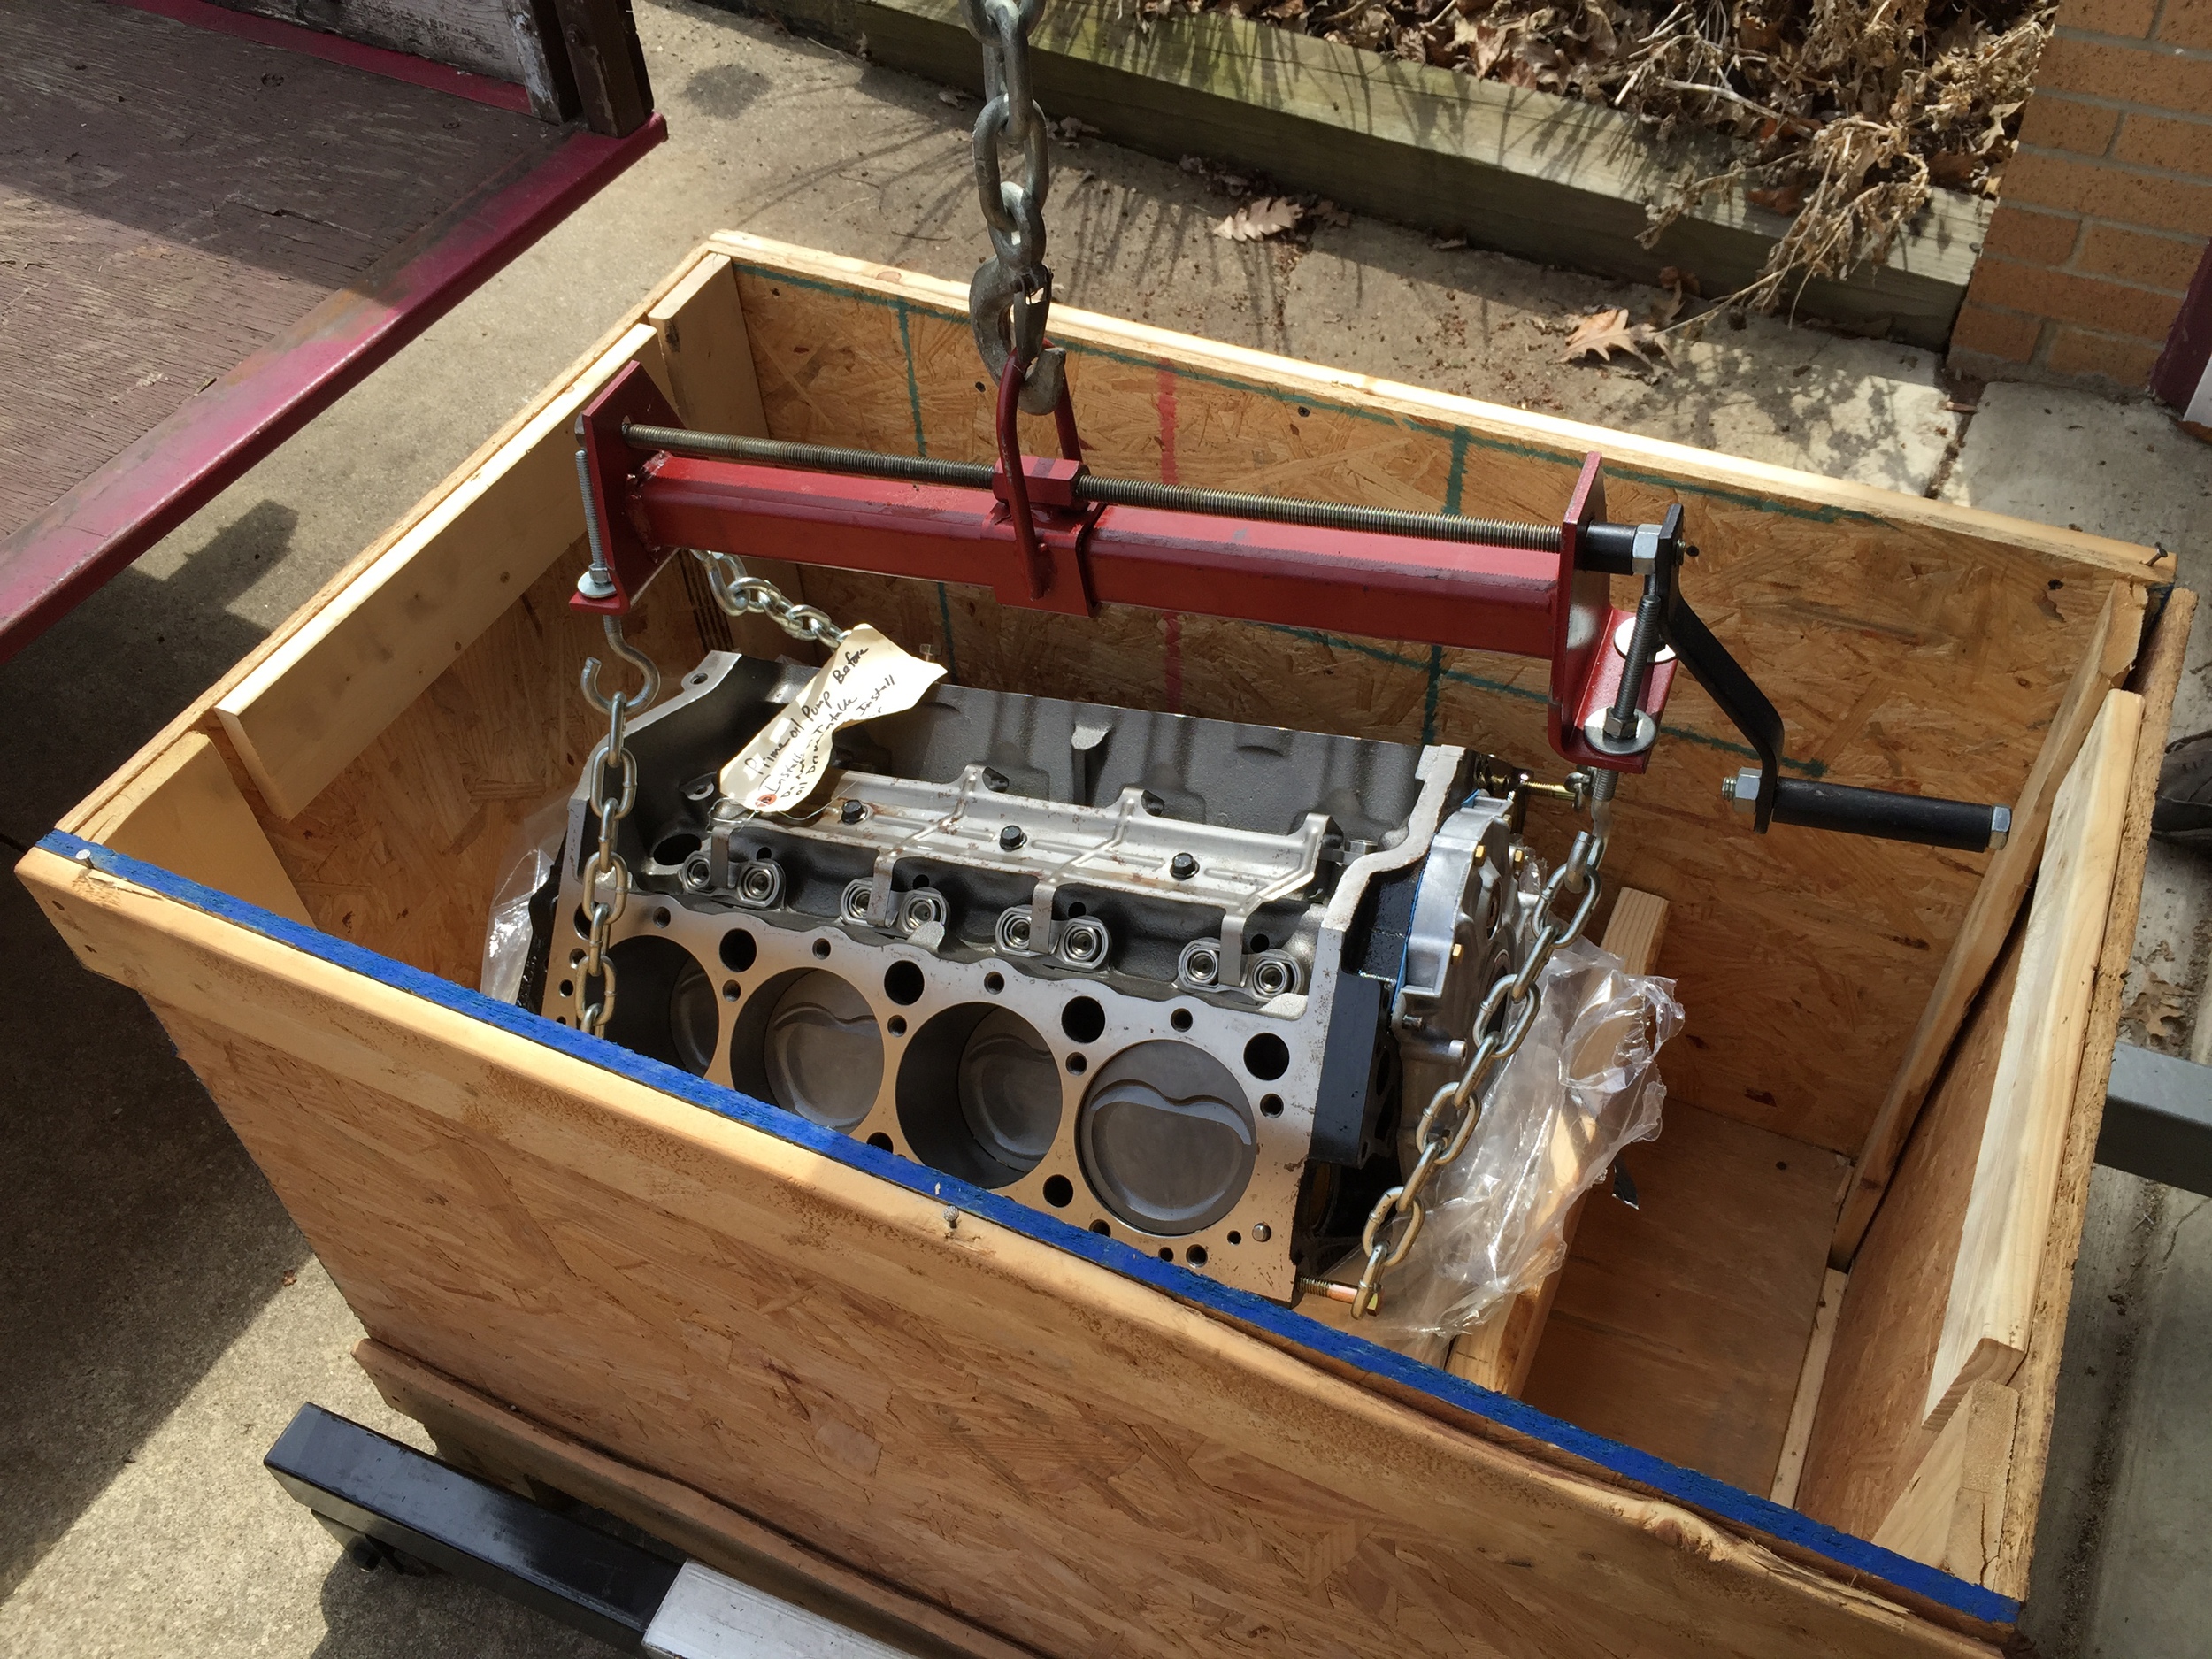
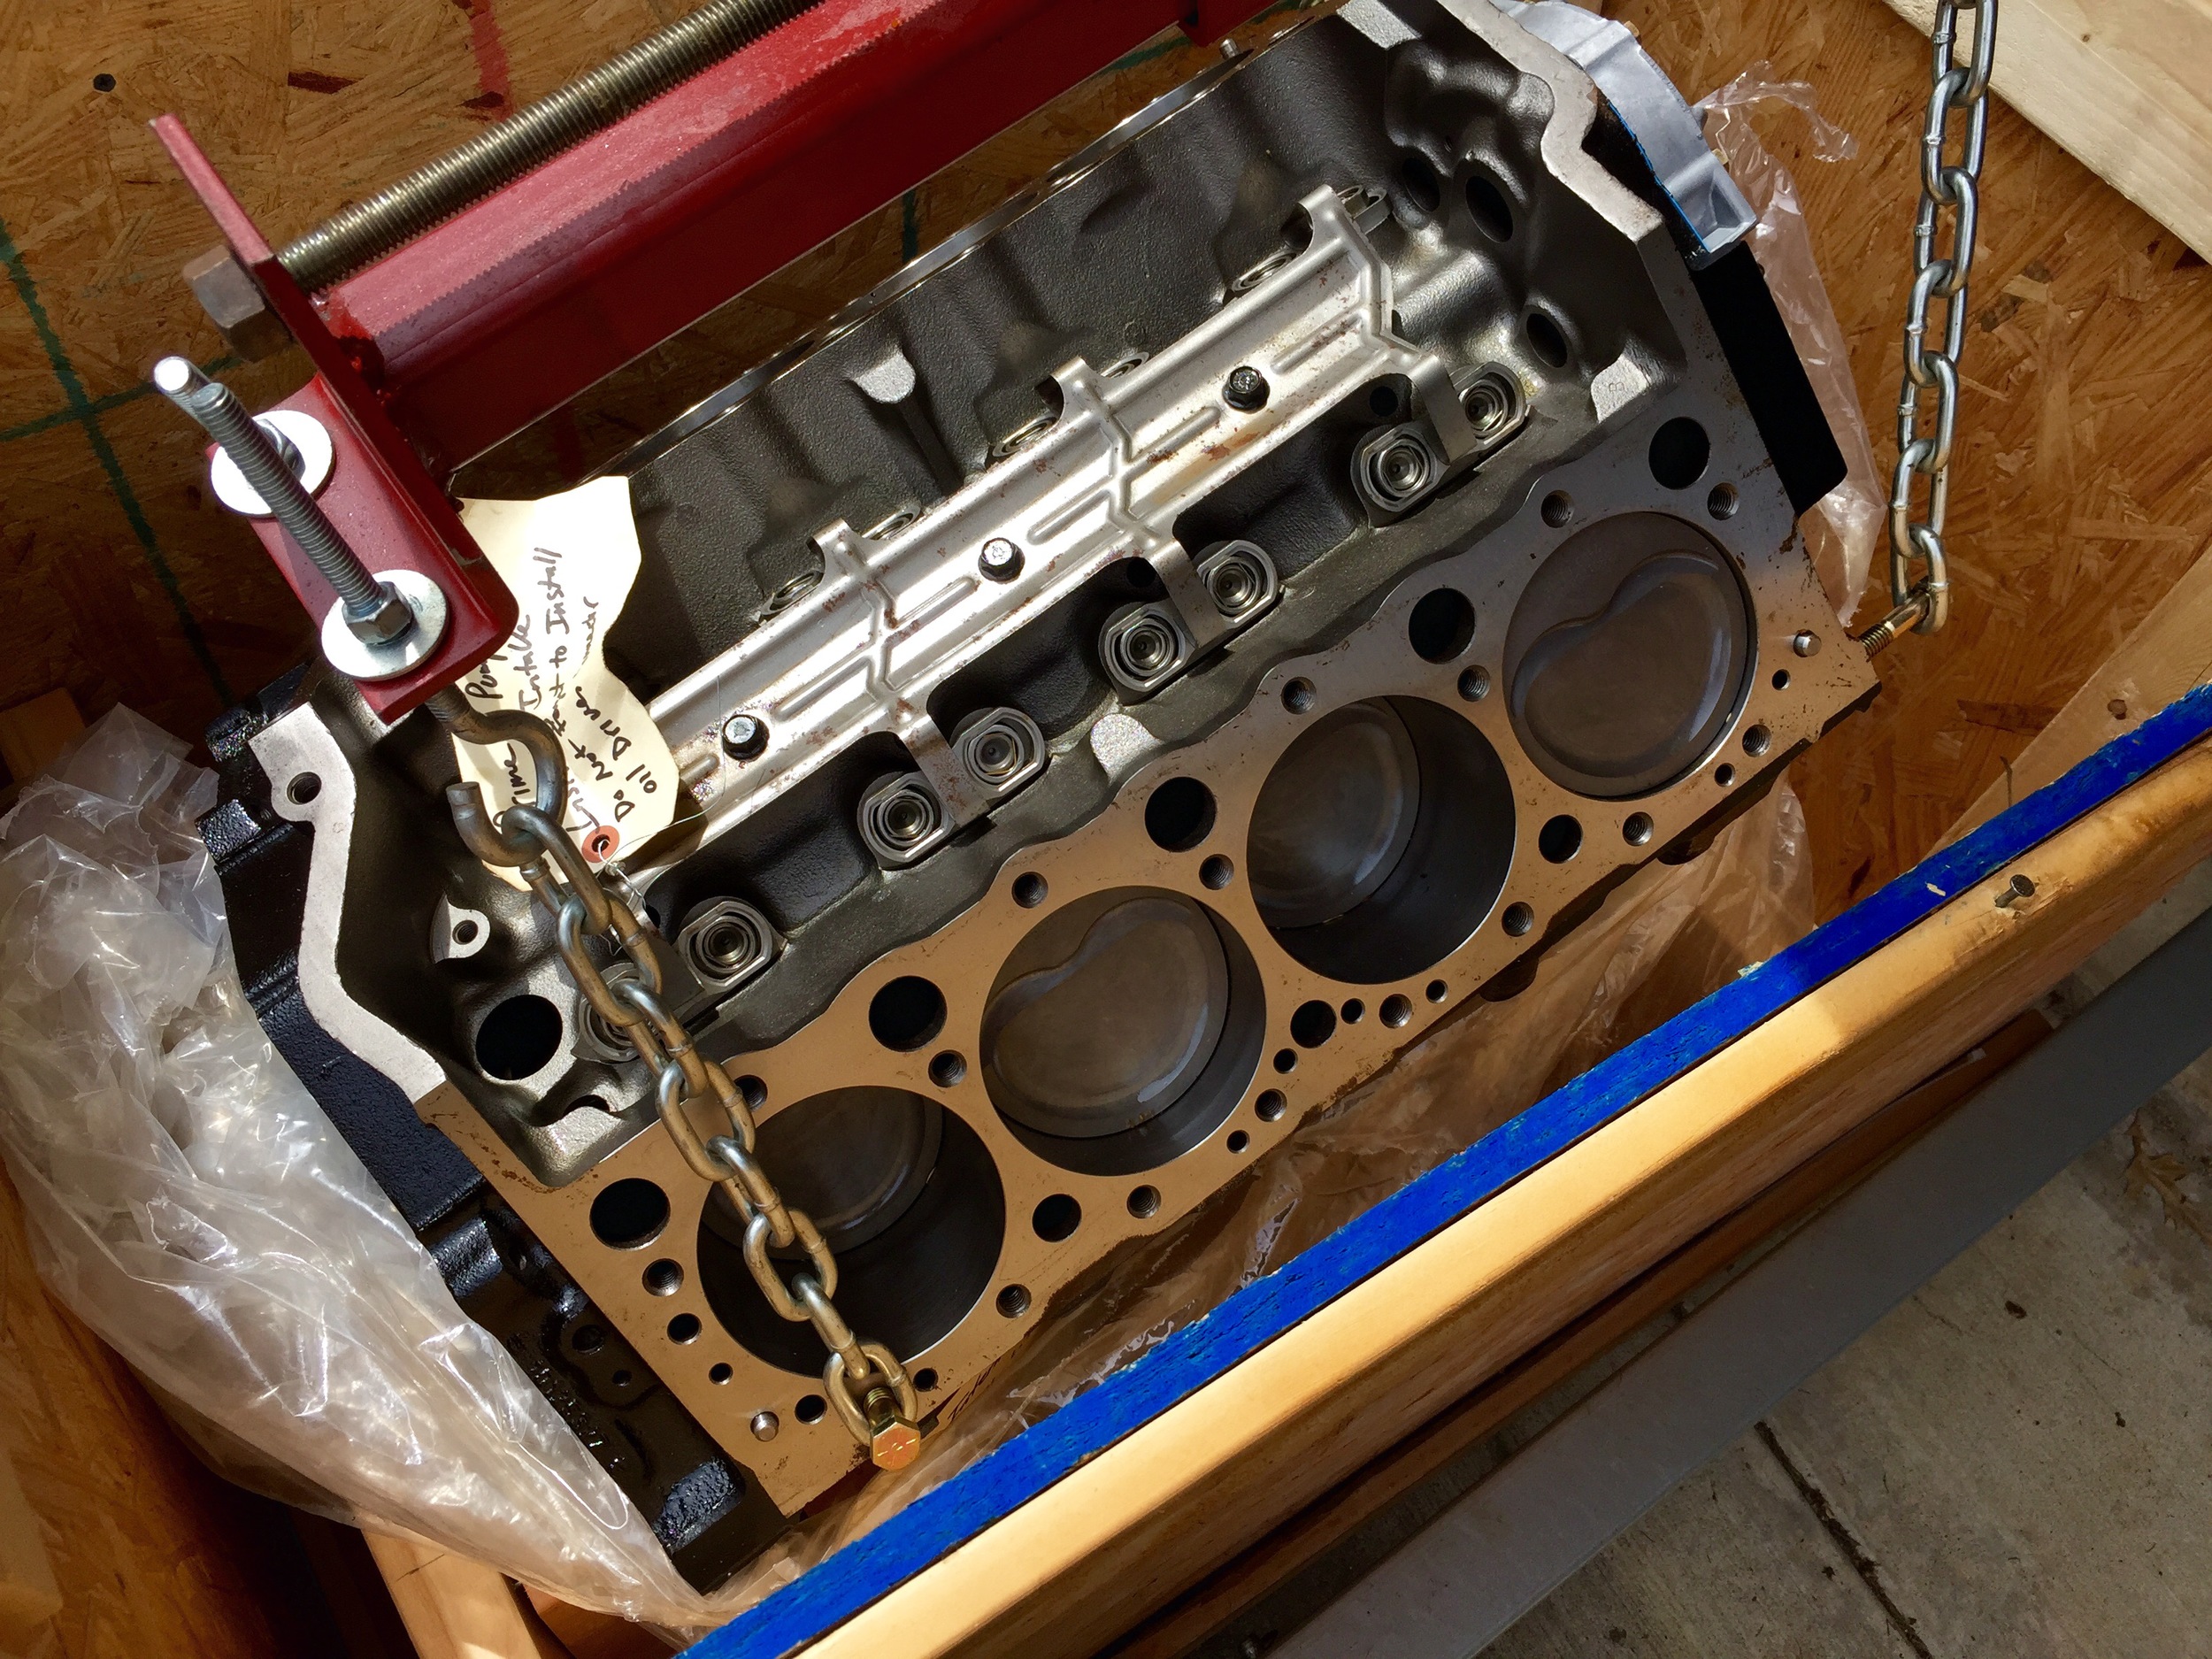
In the meantime though, all of the parts have been brought over to the garage, and this includes the 383 LT1.  We purchased a rotating engine stand from Summit Racing to make this project as easy as possible.  Here are a few pictures from the transfer to my garage and what it looks like on the engine stand.

Right now it is bagged up, but I'm going to start piecing it together and adding parts as time permits.  I'm sure most people out there can relate, but the reason the Impala is necessary is also the reason time is limiting.  Having a family takes most evenings and weekends, along with all of the other stories we have in the pipeline.  Stay tuned for updates and info, thanks for following along!
The Beginning...

The project at hand for the upcoming Summer is somewhat daunting.  Take a 1996 Impala SS with 180k on the clock and make it better.  Sounds pretty simple but assembling and installing an LT1 is all new to me.  My daily driver Camaro which the Impala will be replacing is LS based and I have just a bit more knowledge in that area.

The LT1 we will be installing is a stroked Golen 383 with almost every aftermarket goodie you can find, or could find.  The parts shelf has been piling up for years and now it is time to put it all together.  As I build, assemble and troubleshoot this project, updates and status reports will be submitted here.  So right now, phase one:

The engine is in it's crate and the new engine stand is waiting.  All of our parts from headers, Trick Flow Heads, MSD Ignition, Edelbrock Intake and tons more are waiting to be bolted up.  I have been researching and learning for the past week now and we're ready to start assembling.  The next update will be here when the engine is mounted and good to go. 

Sometimes in life, a minivan or family hauler is needed.  This is one of those times, but I've decided to not go quietly into adulthood and also have decided to not drop $50k plus on a CTS-V or new Chevy SS.  The Impala has been in the family since day one and it will stay in the family for the next few years.  I'm super excited to rebuild a great car that has never let us down.  Check back often as we post updates on this page and everywhere else you can find Hoagies Garage.  Hope you enjoy as much as I plan to!  Pictures will be here soon too...